Unity3D – Github : TextureTools One of the most common art bugs I run into is the texture seam that appears in game but that are not visible in the source asset. This is most common when the in game texture is at a lower resolution than the source or that they primary resolution you see an object is at a lower MIP level.

This comes down to how much padding the pixels on the edge have and the background color of the unmapped pixels. With the way a lot of artist work, using 3d painting tools to remove mismatched texture seams and baking from high resolution source, it is common to not have enough padding on the edges to generate good MIPs or even a good base texture if the source is higher resolution.

So to fix that we need to bleed out the edge color into the unmapped pixels. This can be done in source but can be a pain for something that can just be automated. I noticed that Unity already does edge bleeding as it processes png textures with alpha for use in UI and found this post about the process http://docs.unity3d.com/Manual/HOWTO-alphamaps.html to use as a base for my script.
In my this example I will be using png files and building on classes I used in Image Extension Methods and Using WWW to Avoid Compression. The reason I use pngs is to avoid needed to change import setting such as read/write enable, gama, resolution, compression, etc. to work with the raw image. To test the functions there is a test window script “TextureEdgeBleedingWindow.cs” under Texture > TextureEdgeBleeding.

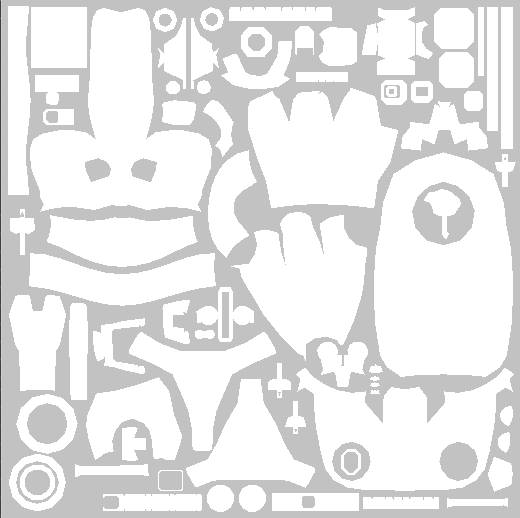
We are going to need several components to properly process the image, the unwrapped mesh UVs, the texture and possible the material if we need to fix all texture channels on a mesh. Most of these are simple to gather from an object in Unity except the unwrapped UVs in a usable form. To do this I created a mesh extension method that will generate a new mesh with its vertices replaced by a given UV channel then render that as a texture for use as our edge mask. A colleague of mine Peter Hanshaw came up with what I find to be the best way of generating this mask by placing the UV mesh in the scene and using an orthographic camera to generate a render texture. I had tried to write a 2d image rasterizer to achieve this but it turned out to be too slow as a unity script running in editor.
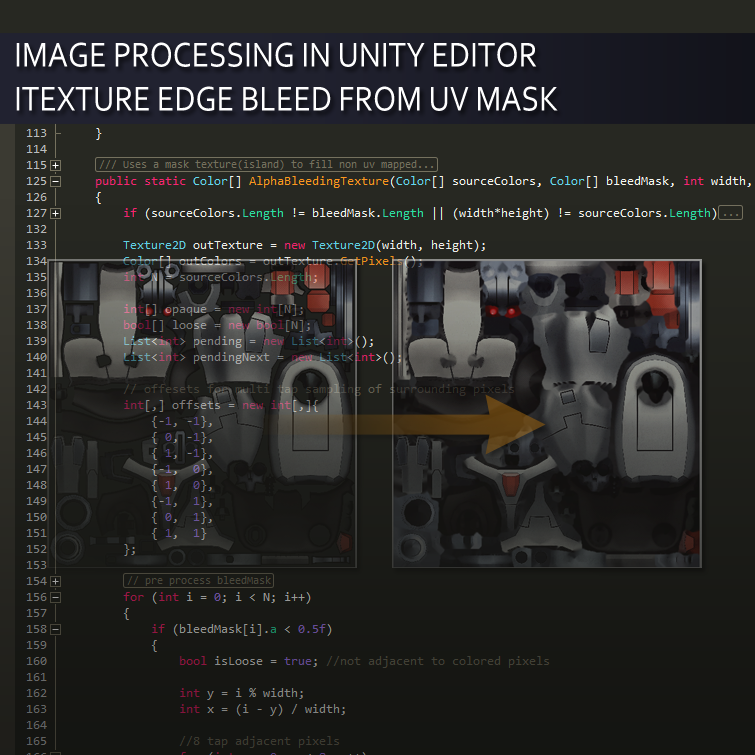
The main portion of the texture edge bleed is the AlphaBleedingTexture() function. The function first finds what pixels are are covered by a UVed portion of the mesh and what is not. If it is not UVed I then do a multi tap sample of the surrounding pixels to see if it is adjacent to a UVed pixel. If not the pixel is considered “loose” otherwise we know it is an edge pixel and it is “pending” to be filled in the main loop. We can see this in action with the “Show Pending Edge” toggle on the test UI.

Once, we know our “pending” edge pixels and our floating “loose” pixels we can loop over the edge pixels with the same multi tap sample simultaneously using it to accumulate the already filled pixels and marking the currently “loose” adjacent pixels as the new “pending” edge.

This algorithm is able to efficiently iterate over an inter image very rapidly. Due to the way the algorithm keeps track of the “pending” edge and the “loose” pixels, it only needs to iterate over a given pixel a minimum of times. You can see the steps the algorithm took with the “Show Fill Steps” in the demo tool window.
