Kid’s Nightmare Update build – Android
Kid’s Nightmare Hackathon build – Android
Best with Google Cardboard and Headphones
Unity 3D – A year ago I took part in an amazing Hackathon at kabam with a goal of learning VR. The participants were mostly from the platform and had little Unity experience. Clive Henrick, who coordinated the hackathon, asked if I would join and provide some needed Unity expertise to the group. The day started with Unity representatives giving a presentation that included a quick start guide to Unity and Cardboard VR and then a weekend Hackathon. I unfortunately had to show up a little later in the first day but thankfully with the presentations to start I would not miss much.

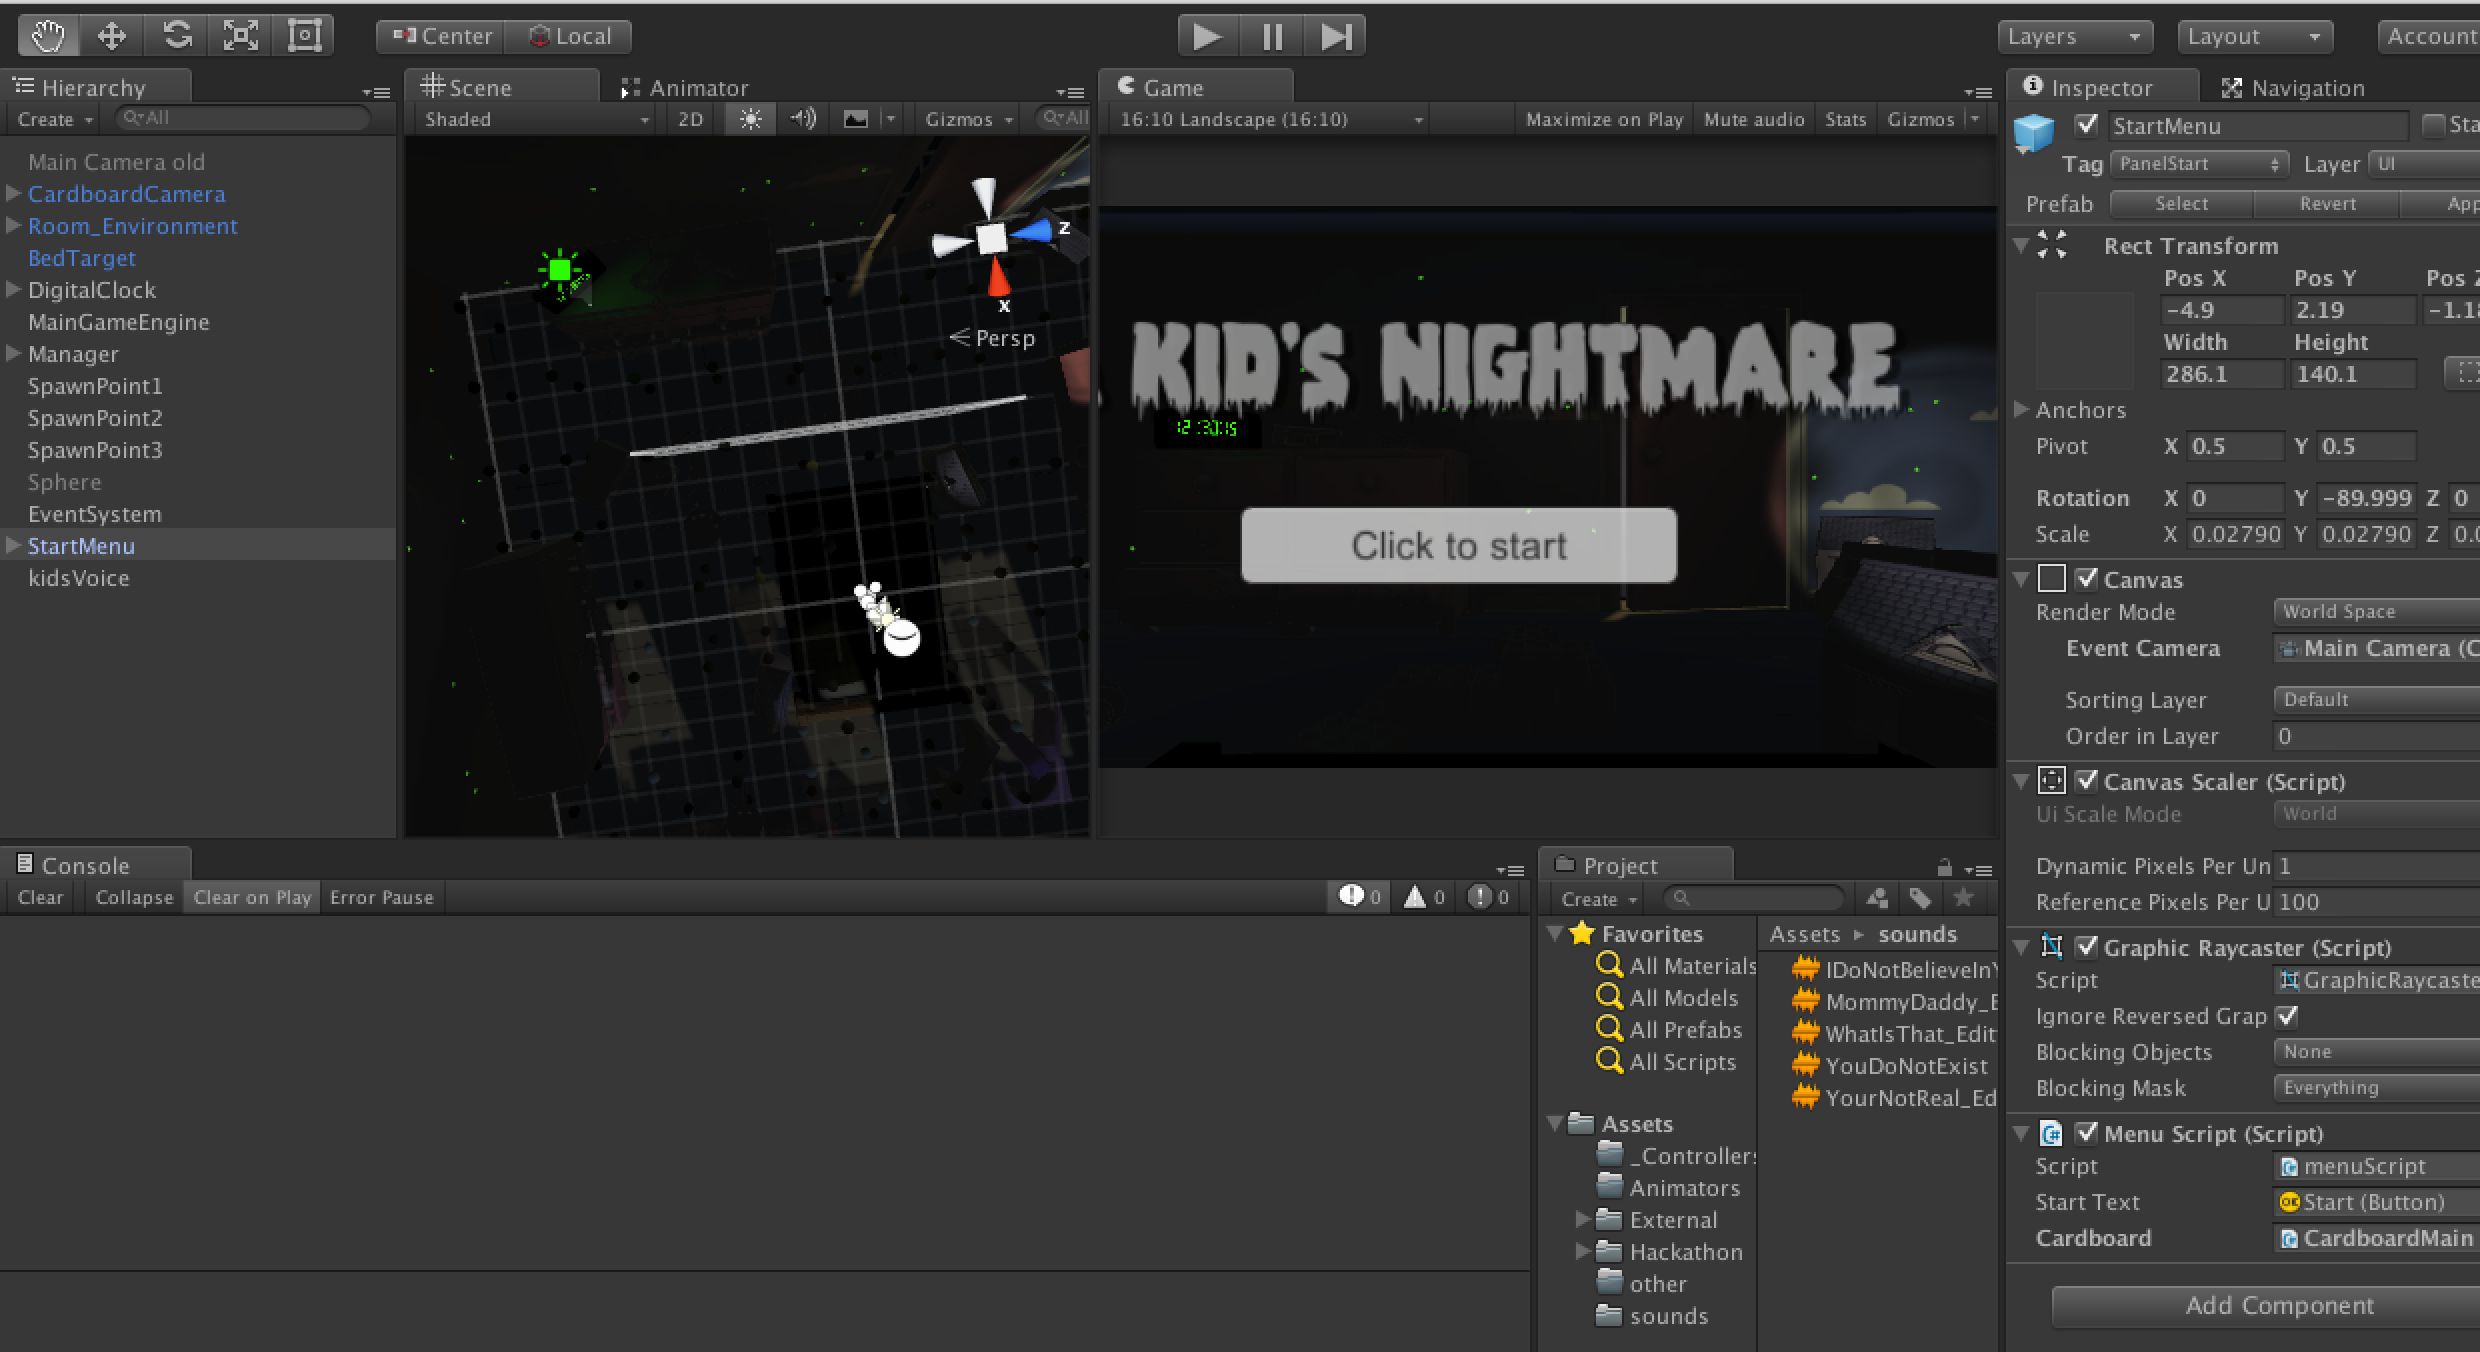
After I arrived Clive ran me through the team’s plan, it was to re-purpose one of Unit’s own demo projects into a new Cardboard VR game. This would allow us to focus more on building a game that works well with Cardboards strengths and give us time to avoid a lot of the common problems at the time with VR games. The idea was agreed upon to use Survival Shooter from the asset store as a base to create a game where you play as a child half asleep in a nightmare pointing a flashlight to dispel nightmare creatures coming to scare you. This simplified controls removing movement so all that you needed was a simple head movement for the game-play.

Tasks were generated and my first job was to help Michael who was working on distributing a Git repo with setting up the project in a way that works with source control. Once that was done, the team worked on pulling the project and getting an initial build. Since getting the repo setup and distributed to everyone took several hours everyone had started developing in their own scenes. I went to work helping the team members break apart their working scene into prefabs and start pulling everything into a master scene. With the housekeeping out of the way the team was then able to dig in and start to iterate.

Already from the first build of the game the frame rate was too low so I set to work optimizing. The art of Survival Shooter was not really mobile friendly to begin with and we needed to render the scene twice for 3d. Time to do some atlasing and poly reduction. Some other things that needed to be addressed with the art was building a full 3d, building some new props, and getting everything lit. Getting good lighting was harder than I expected for the scene, all the art already had a night time dark blue baked into all the source textures. So I worked to re-colorize the textures for a better dynamic range when lit.

Alright, now we were cooking with better than 30fps across all devices and 60fps on some of our top end. We had wanted objects to be able to block line of sight on the flashlight allowing the enemies to hid as they moved closer. I was able to aid in getting the nav mesh setup and the characters attached to it.

We were able to start working on refinements, I did not like how the flash was looking since it started from the camera was always just directly what you were looking at. I went about setting up some offsets in the flashlight position and delays in the follow to give it a more natural look.
We were able to finish up around 10pm on Sunday with a solid build even getting sound and music into the demo. All and all a really great experience building game. To anyone wanting to try a weekend hackathon with Unity I say go for it! But if you are able try to get a source control solution working before hand and try starting from one of Unity’s demo project. This really lets you focus on building new things for your game and adding extra polish making an overall better experience.

If you want to try it out I have made an updated version of the apk with new versions of Unity and Google’s SDK here.
You can also download the original hackathon version of the apk here.